Step 1: Choose the photos to work with at this time. I chose 61 photos (some duplicates) to work with today.
Step 2: Methodically put stickies on the back of each photo, making sure the tabs hang off the end of the card for easy removal.

Step 3: Handwrite on the back of each card business name, email address, and where the photo was taken.

Sometimes it's really nice to pile the cards together because they look so nice. Or maybe this is to help you visualize them all...

Step 4: Stuff an envelope inside the card, 61 times.


Step 6: Rip off plastic to reveal sticky stuff (professional term) to seal the envelope. 61 times.

And that's that. It took all day (I may have been watching a movie or sitting in the sun for some of the time), but since I'm sick, I had the time...
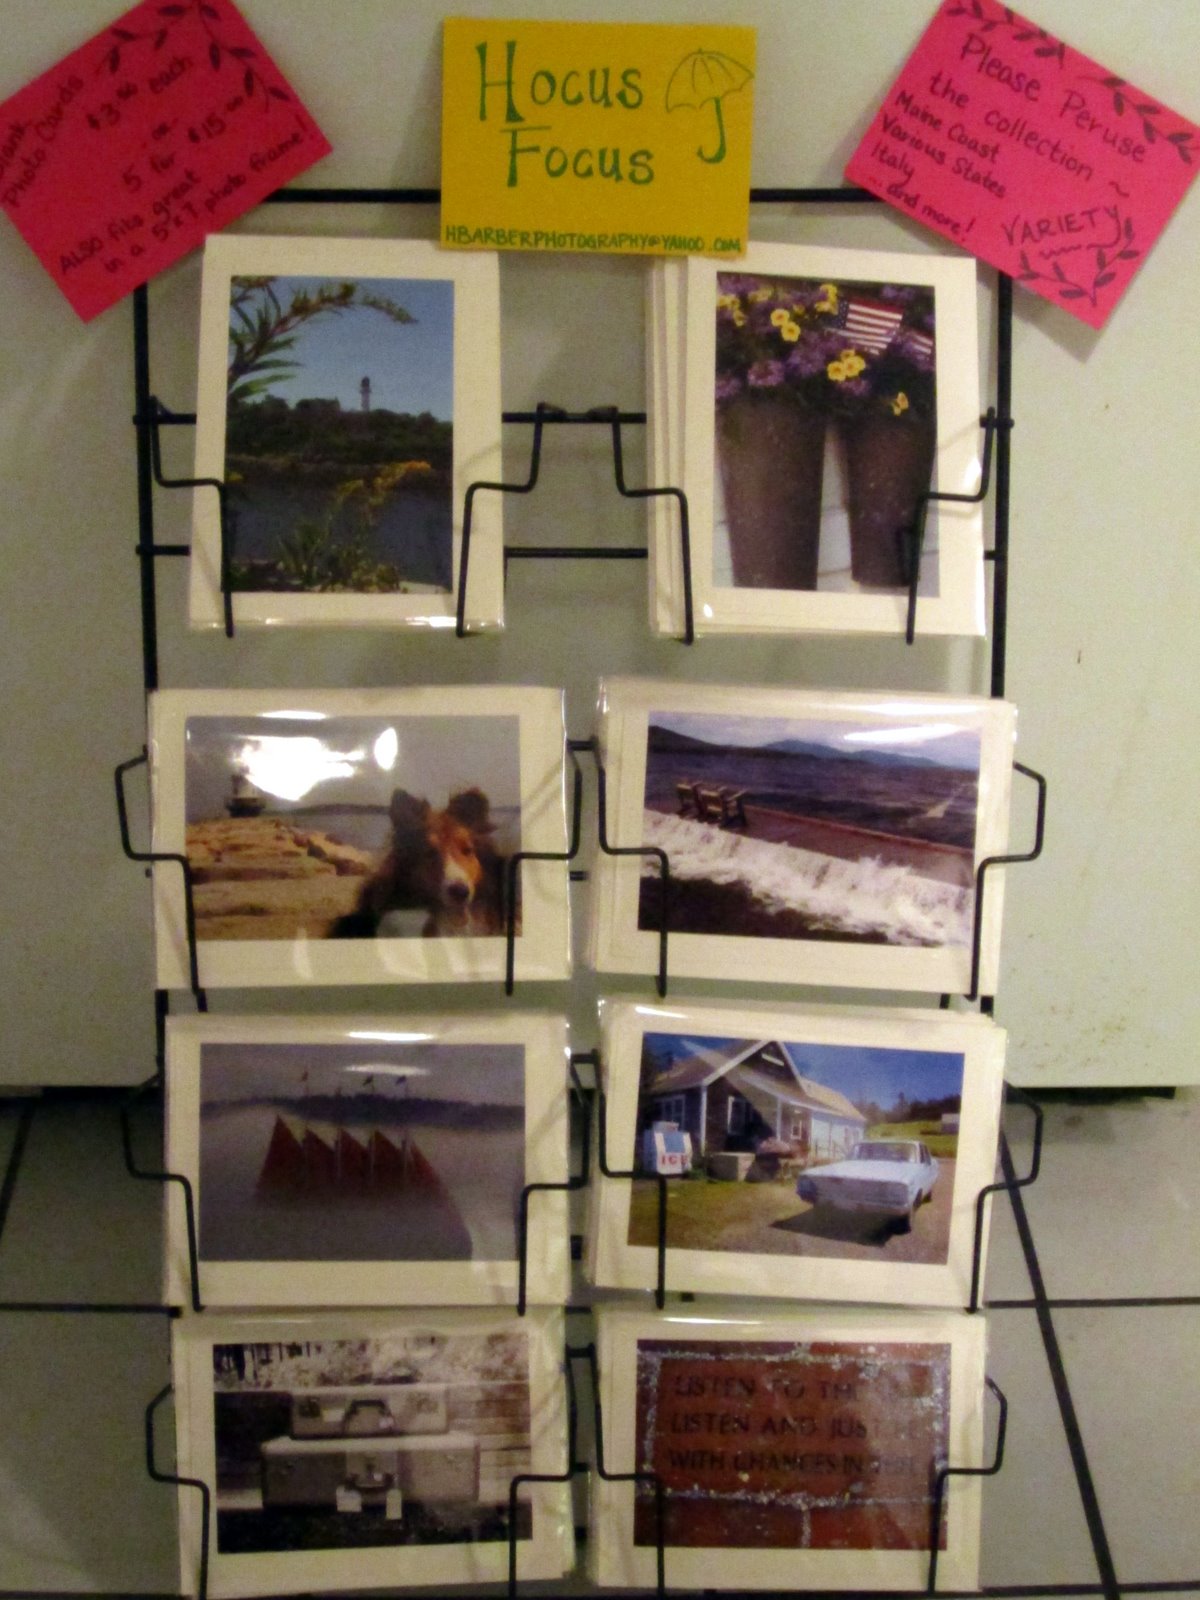
So next time you pick up a homemade (Maine) item, remember how many steps - though simple and tedious - someone had to go through to arrive at a finished product.
And feel free to check out my website: www.hbarberphotography.smugmug.com
No comments:
Post a Comment